How to Blow-Dry Your Hair at Home
Do you put in all the effort to style your hair, only to have it fall flat five minutes later?
It may not be your hair that is the problem. More heat, more speed and more product do not automatically create a better blow-dry. A few changes to your timing, airflow and cooling can make a surprisingly big difference.
Here are the mistakes we see most often, and the salon techniques that can make styling your own hair easier.
Is your blow-dryer too hot or too speedy?
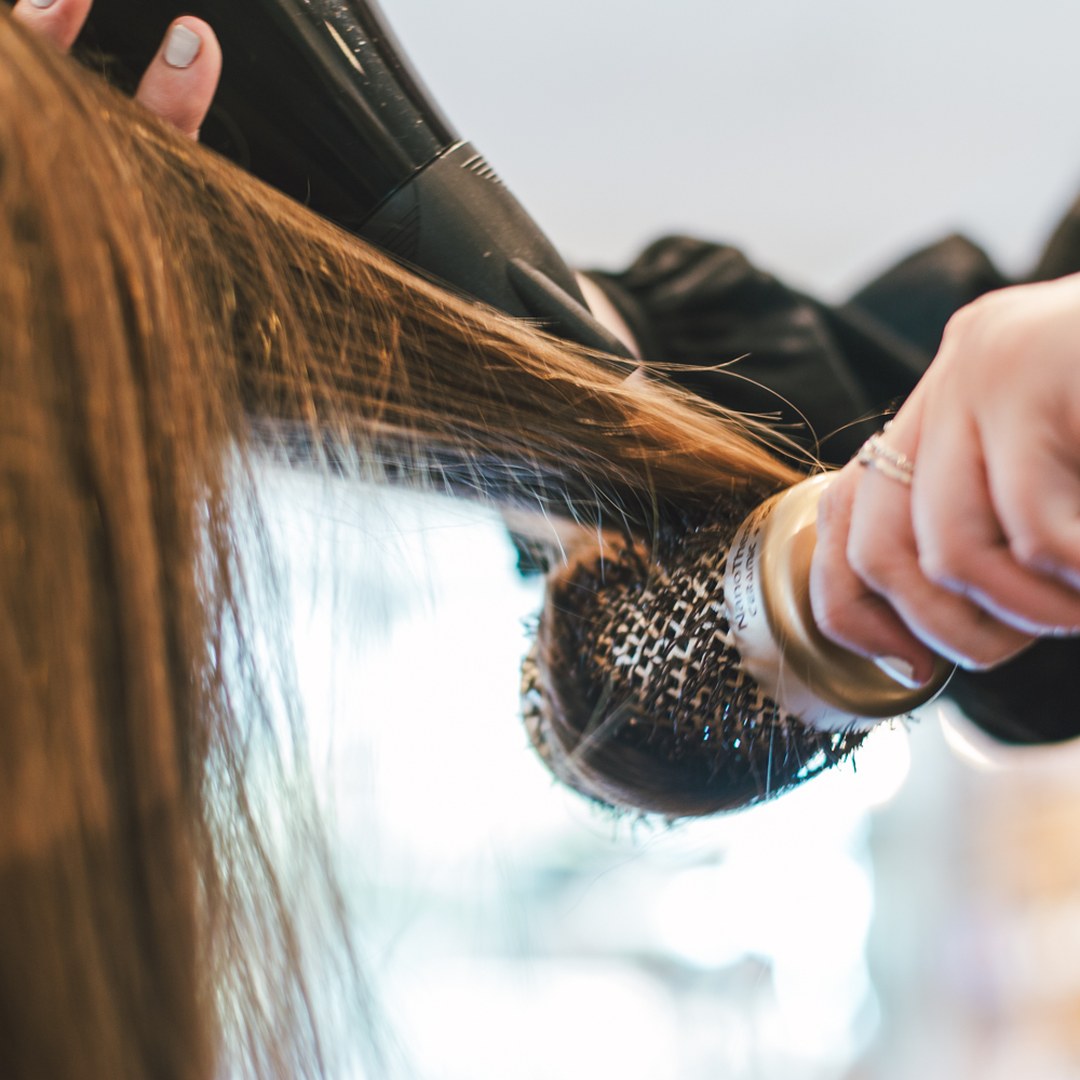
Blasting your hair at full heat can make it harder to control and leave you chasing flyaways rather than creating the shape you want.
Gently squeeze and blot your hair first. Use your dryer to remove some of the excess moisture, then slow things down when you begin working with a brush. How damp your hair should be at that point depends on its texture, how quickly it dries and the finish you want.
Apply heat protection according to the product instructions, choose a heat and airflow you can comfortably control, and keep the dryer moving.
If the washing stage is where things begin to go wrong, start with our professional hair-washing guide.
Are you putting your styling product in too late?
Many styling products are designed to go into damp hair, before you begin blow-drying. This gives you a chance to distribute the product evenly instead of adding more when the style is already falling flat.
The right product and amount depend on your hair and the result you want. A root product can help with lift, while a suitable cream or serum may give the lengths more control. Follow the directions for your particular product rather than assuming every formula works in the same way.
Straighteners on damp hair are a big no-no
Standard straighteners and curling irons should only be used once your hair is completely dry.
If you plan to use another hot tool after blow-drying, check whether your heat protector is intended for both damp and dry styling, and follow its instructions. Work in manageable sections rather than repeatedly passing over the same hair.
Want longer-lasting curls when using a straightener?
There are tools designed for curling and tools designed for straightening. There are also air stylers, air curlers, hot brushes and multi-stylers, and they all work in different ways.
A hair straightener can be more versatile than its name suggests. With the right technique, it can be used to create a curl or a softer wave as well as a straight finish.
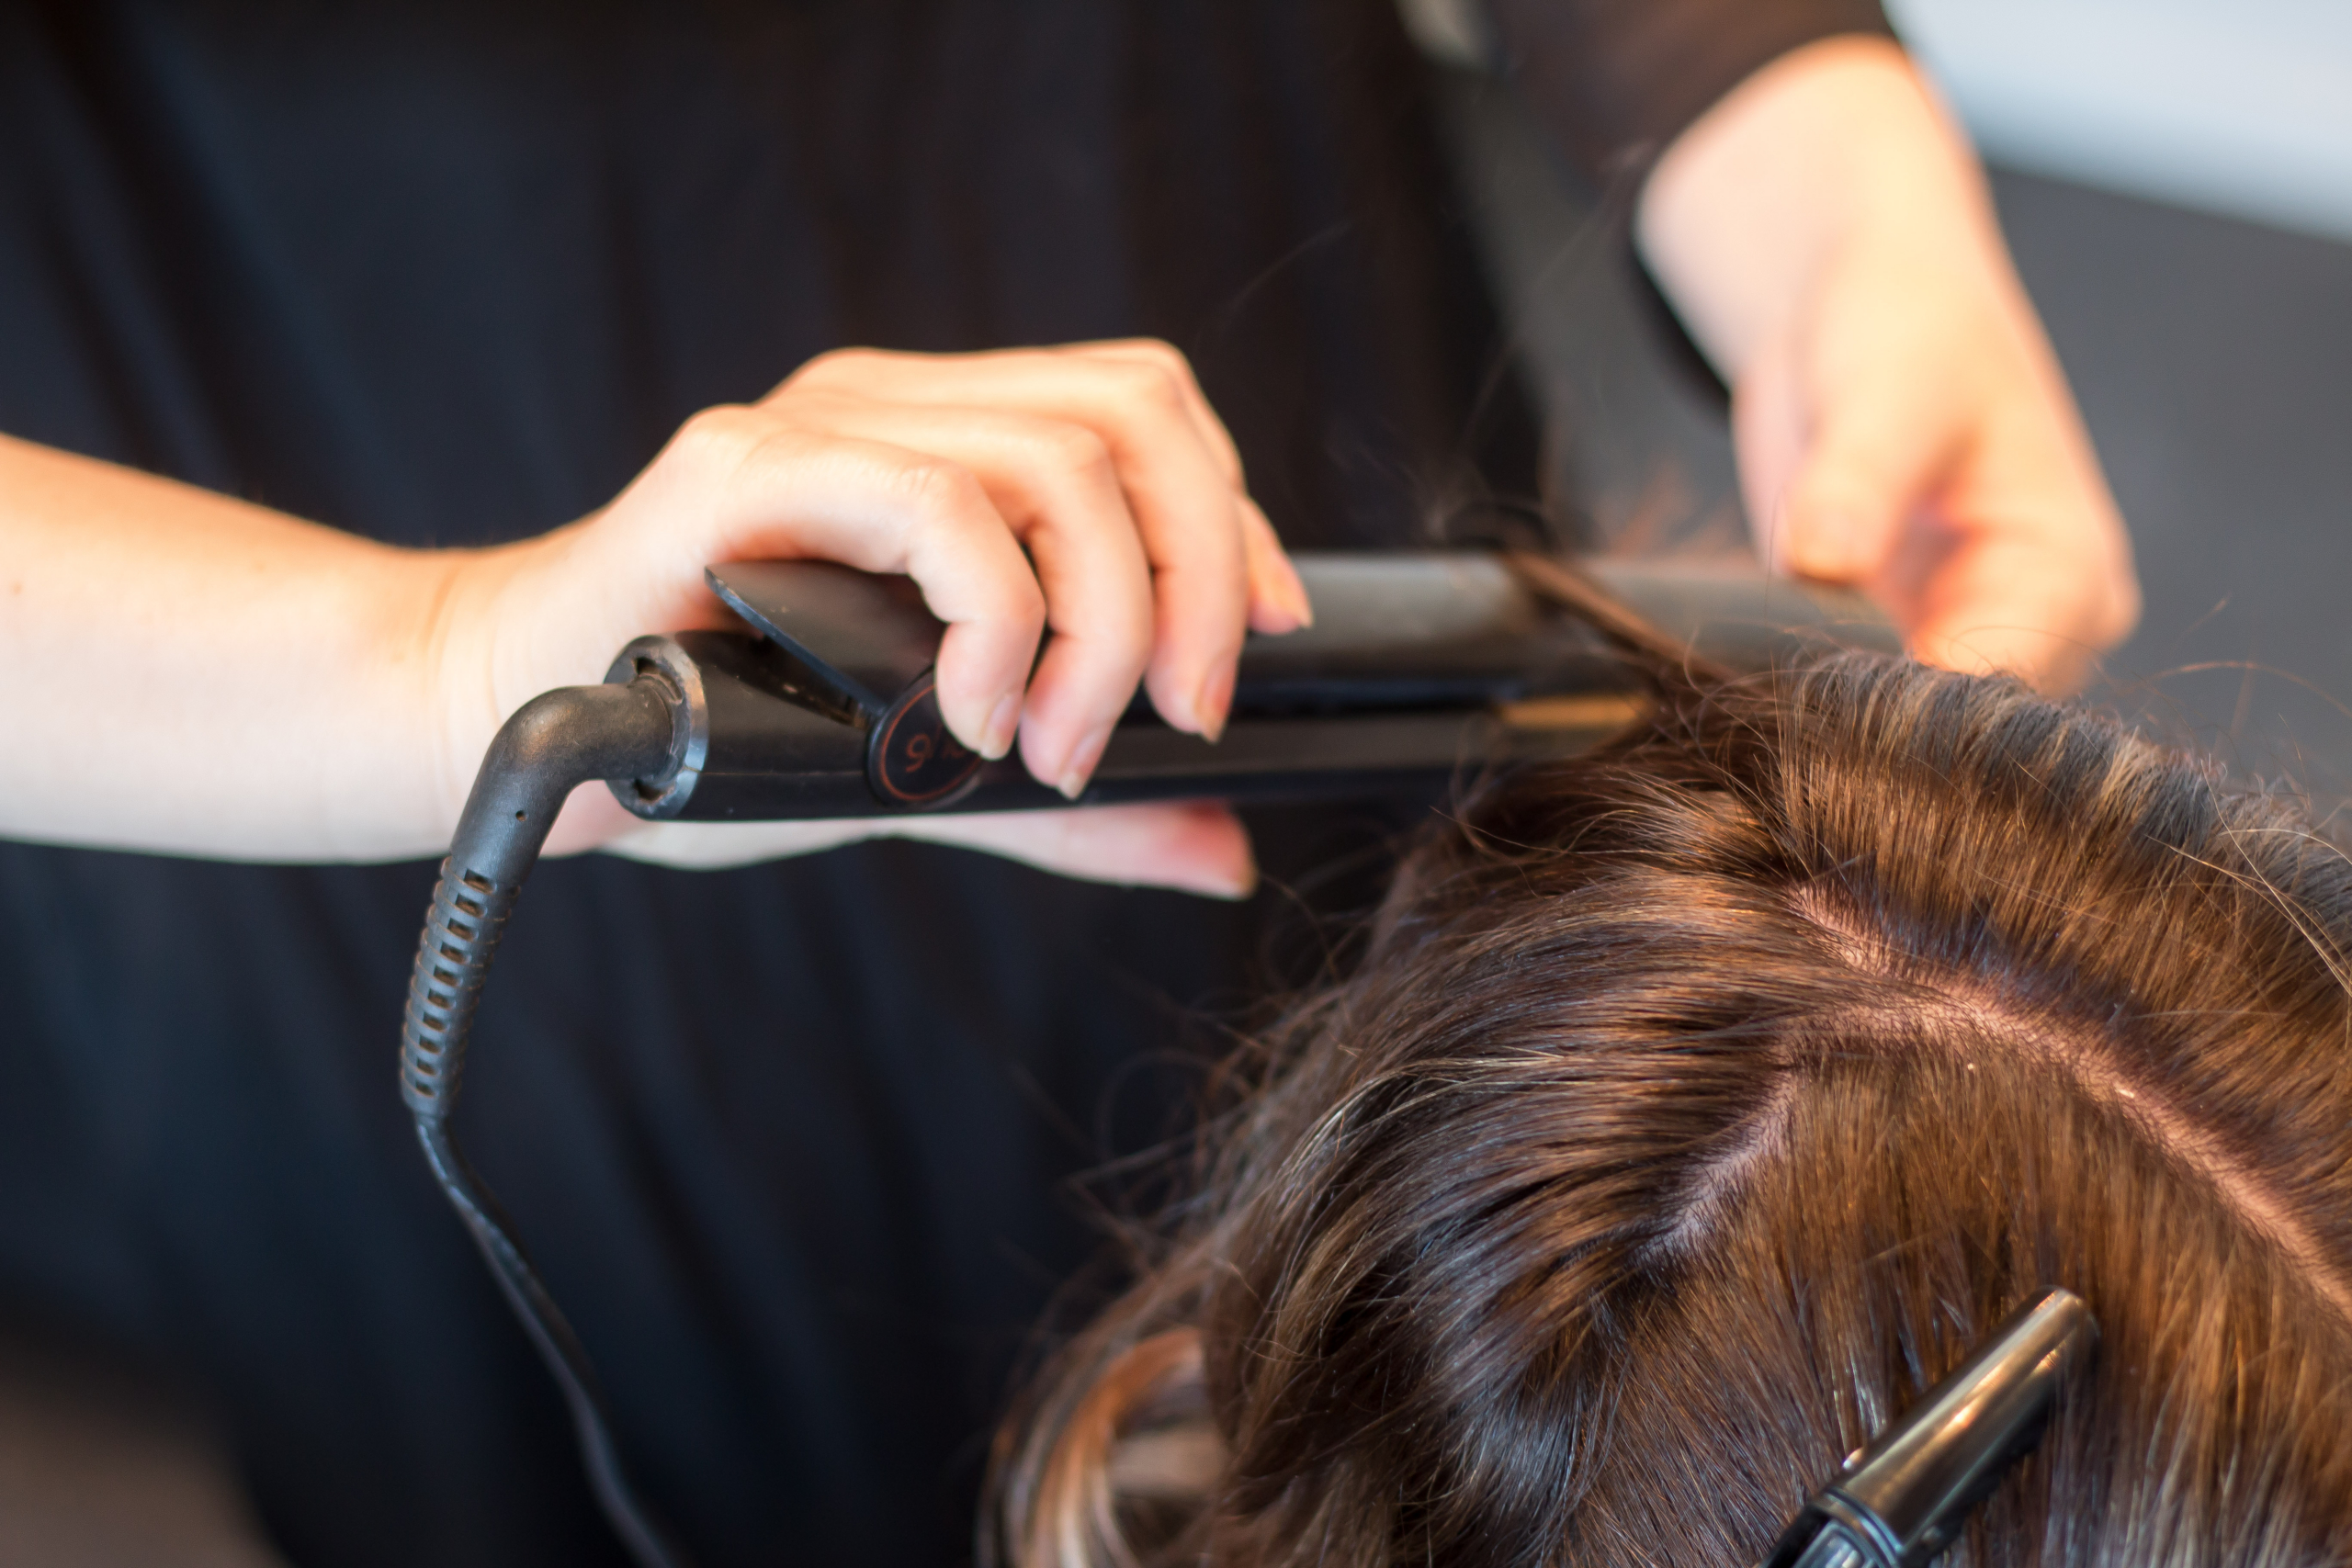
If you like curling with your straightener, adding mousse or volumiser immediately beforehand can make it harder to pull the straightener smoothly through your hair. Start with completely dry hair and use heat protection that is suitable for dry styling.
Work in clean sections and begin your turn close enough to the roots to support the shape you want. Keep the movement smooth rather than stopping and starting, then allow each curl to cool before touching or pulling it apart. You can also wind each curl back into a pin curl and secure it with a clip while it cools, which may help it last longer. Finish with a light hairspray if you need more hold.
If the curl kinks, drops quickly or never looks the same on both sides, ask us to show you the angle and hand position that will work best for you.
Drying your hair upside down? Here is why it often falls flat again
Turning your head upside down can give the roots some quick movement while you remove moisture, but it does not give you much control over where the hair will sit when you stand up again.
For lift that lasts, pay attention to the roots. Hold the hair up and away from the direction it naturally falls, direct the airflow into the root area, then let it cool before releasing it.
Tired of the five-minute flop?
Do not forget the back and crown. We call this area the engine room of a hairstyle because getting it sitting well helps the rest of your hair fall into place.
Work in sections that are small enough to control around your brush. Dry below and over the crown rather than concentrating only on the pieces you can see around your face.
Once a section is dry and sitting where you want it, let it cool around the brush, use your dryer’s cool setting, or place it into a Velcro roller while you move on. Cooling is one of the most useful steps and one of the easiest to rush.
What is that nozzle actually for?
The concentrator nozzle narrows and directs the airflow. It can help when you are working with a brush and want a smoother, more controlled finish.
Point the airflow from the roots towards the ends, following the surface of the hair. Keep the dryer moving and leave a little space between the nozzle, your hair and the brush rather than pressing them together.
You do not have to use it for every part of the drying process. A nozzle can make the dryer feel longer and harder to handle, so use it when the extra direction is genuinely helping you.
Why does a salon blow-dry feel different?
It is not simply because we own a professional hair dryer.
We can see the angles that are difficult for you to see, choose the section size and brush for your hair, control the roots and watch how each area responds as it dries. Technique matters, but so does adapting that technique to the person in the chair.
Make your own blow-dry easier
At your next appointment, tell us which part of styling your hair feels difficult. Bring your brush or a photograph of it if that helps.
We can show you where to direct the air, how to hold your brush and dryer more comfortably, and which small change is most likely to improve the result for your own hair.
New to Absolute Hair? Explore the haircut and styling options for your first visit.